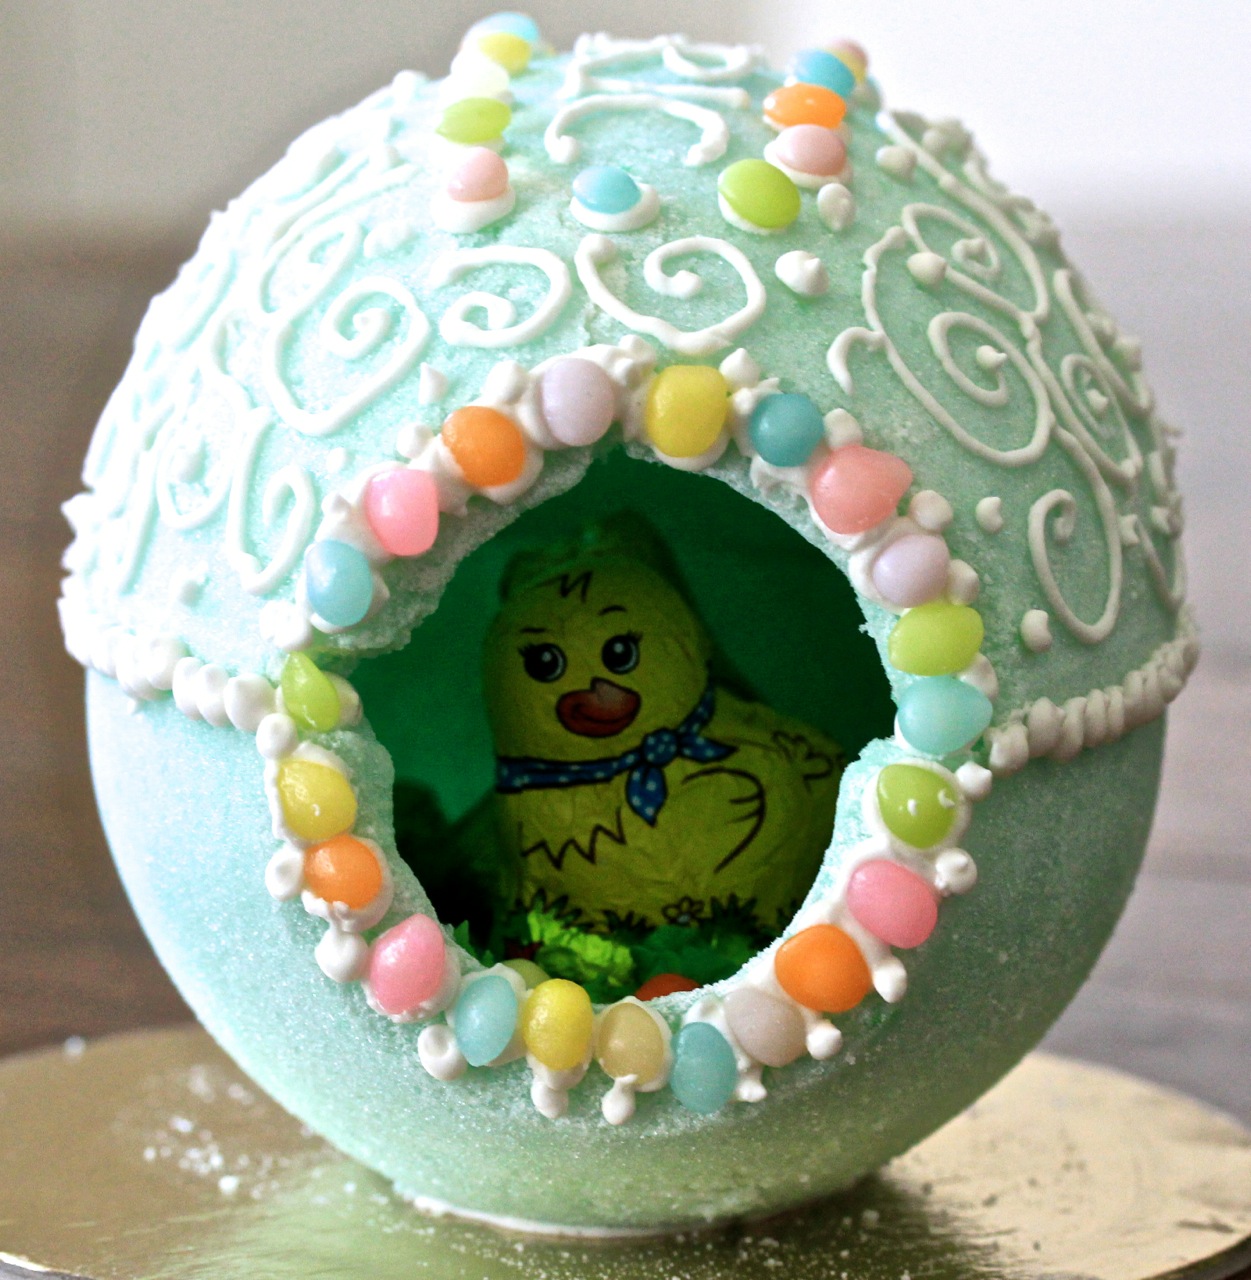
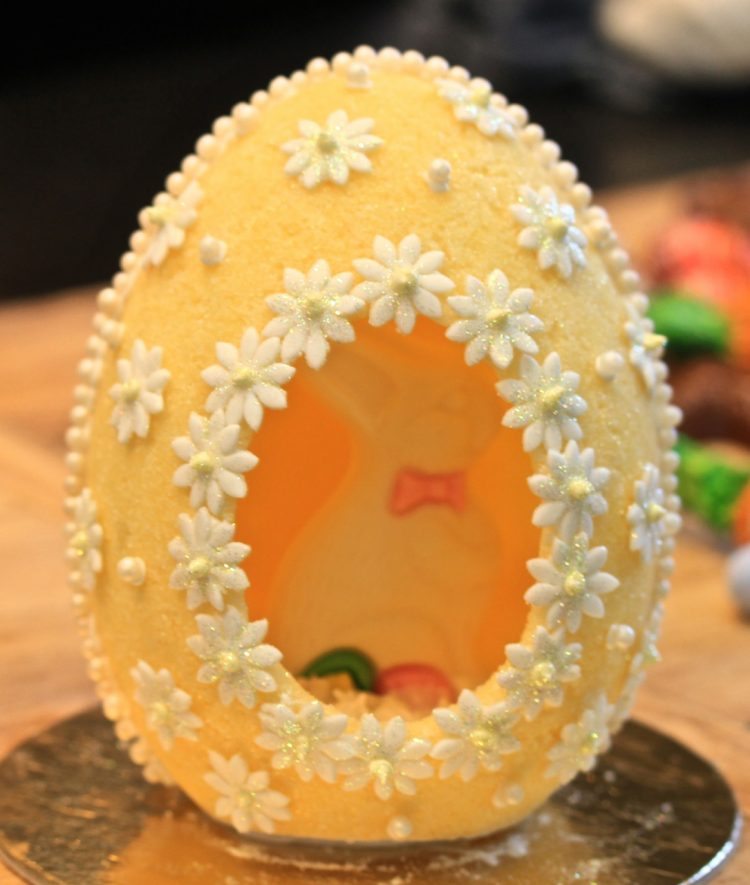
Do you remember a children’s book called “The Enchanted Egg,” about an elf who finds a sugar egg with a beautiful diorama inside? I’ve always been entranced by the idea of an exquisite secret world inside a lavishly-decorated sugar egg. Sugar eggs were always a big hit in our Easter baskets, and they lasted for years – or at least we kept them for years. My friend Roxanne (you may remember her from the fabulous Halloween cupcakes,) has kindly agreed to show us how to make sugar eggs. I expected it to be much more difficult that it was; in fact, it’s more like making sand castles at the beach than anything else. It was a fascinating way to spend a Sunday afternoon, scooping wet sugar and letting our imaginations run rampant with frosting and Easter candies. Of course I loved it.
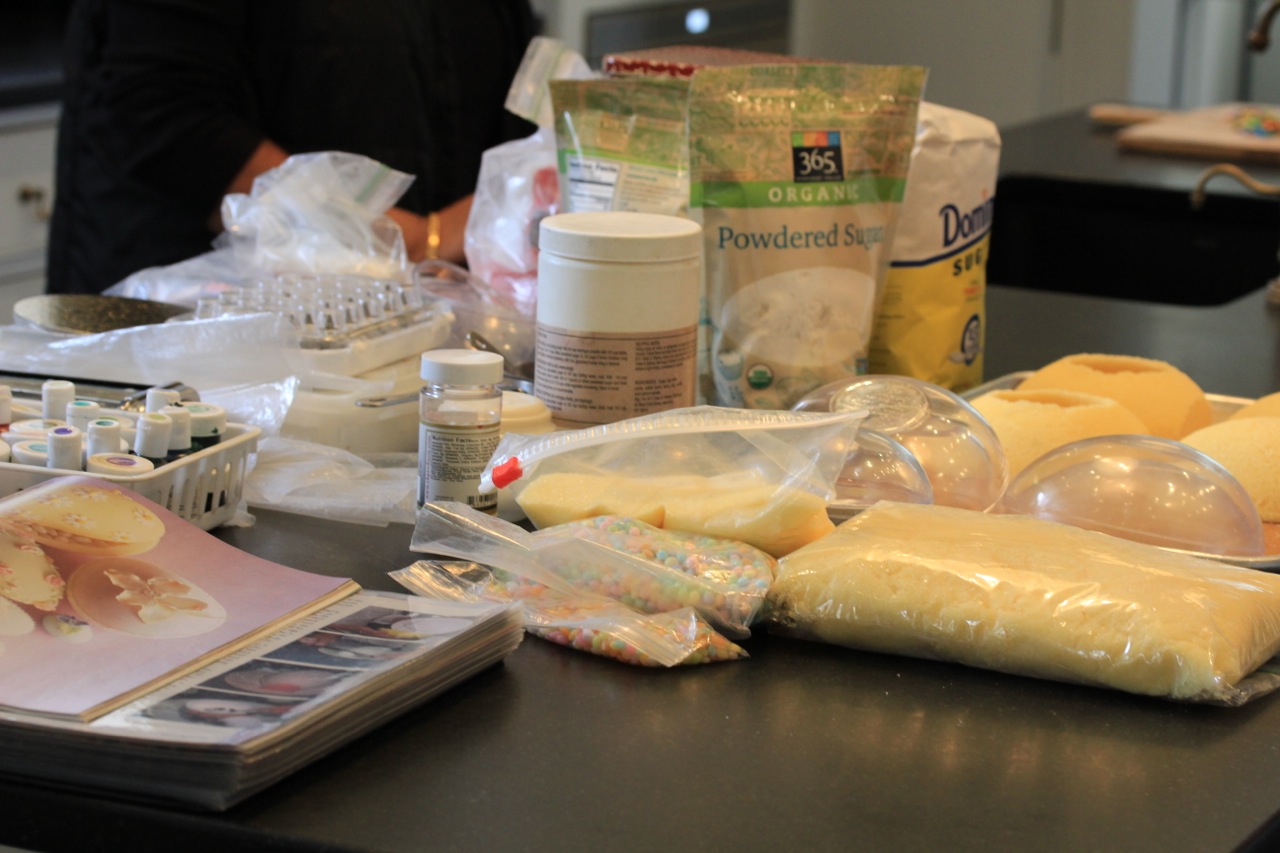
First, we chose our colors. The sugar for the eggs can be dyed any color, so Roxanne chose yellow, Nelly, who came to make an egg for her grandson, picked a lovely pale green, and I opted for pink. We mixed up the sugar, meringue powder, and water, scooped the mixture into the plastic molds which Roxanne brought with her, and baked them in a 200 degree oven for 20 minutes. Roxanne showed us her little tricks for scooping out the sugar inside the eggs (the scooped out sugar can be reused to make more eggs,) so that they look smooth and finished. It was at this point that I became overzealous and scooped my egg until it was so thin you could practically see through it. You can imagine what happened next – it was a Humpty Dumpty moment and my pink egg crumbled into too many pieces. From here, we have the story of Nelly’s and Roxanne’s eggs. Sigh.
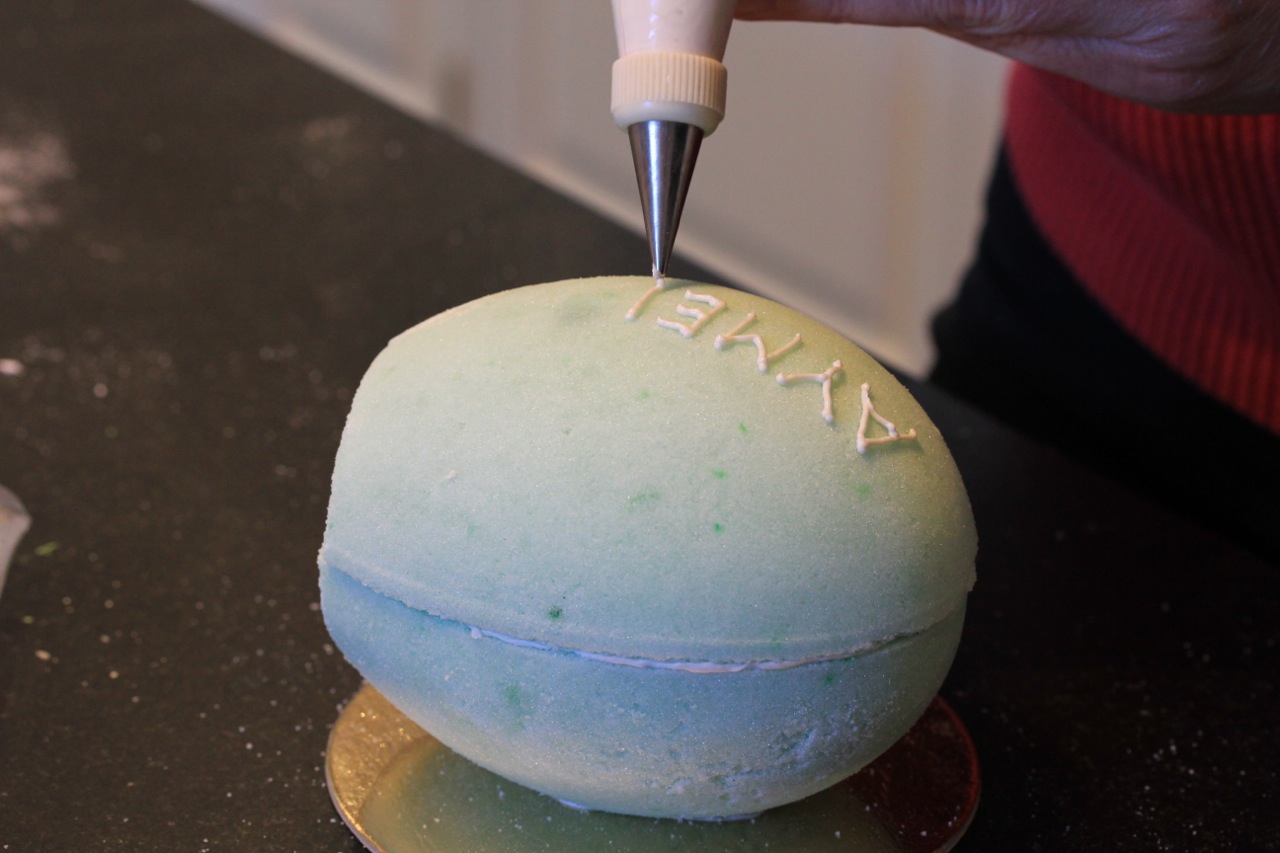
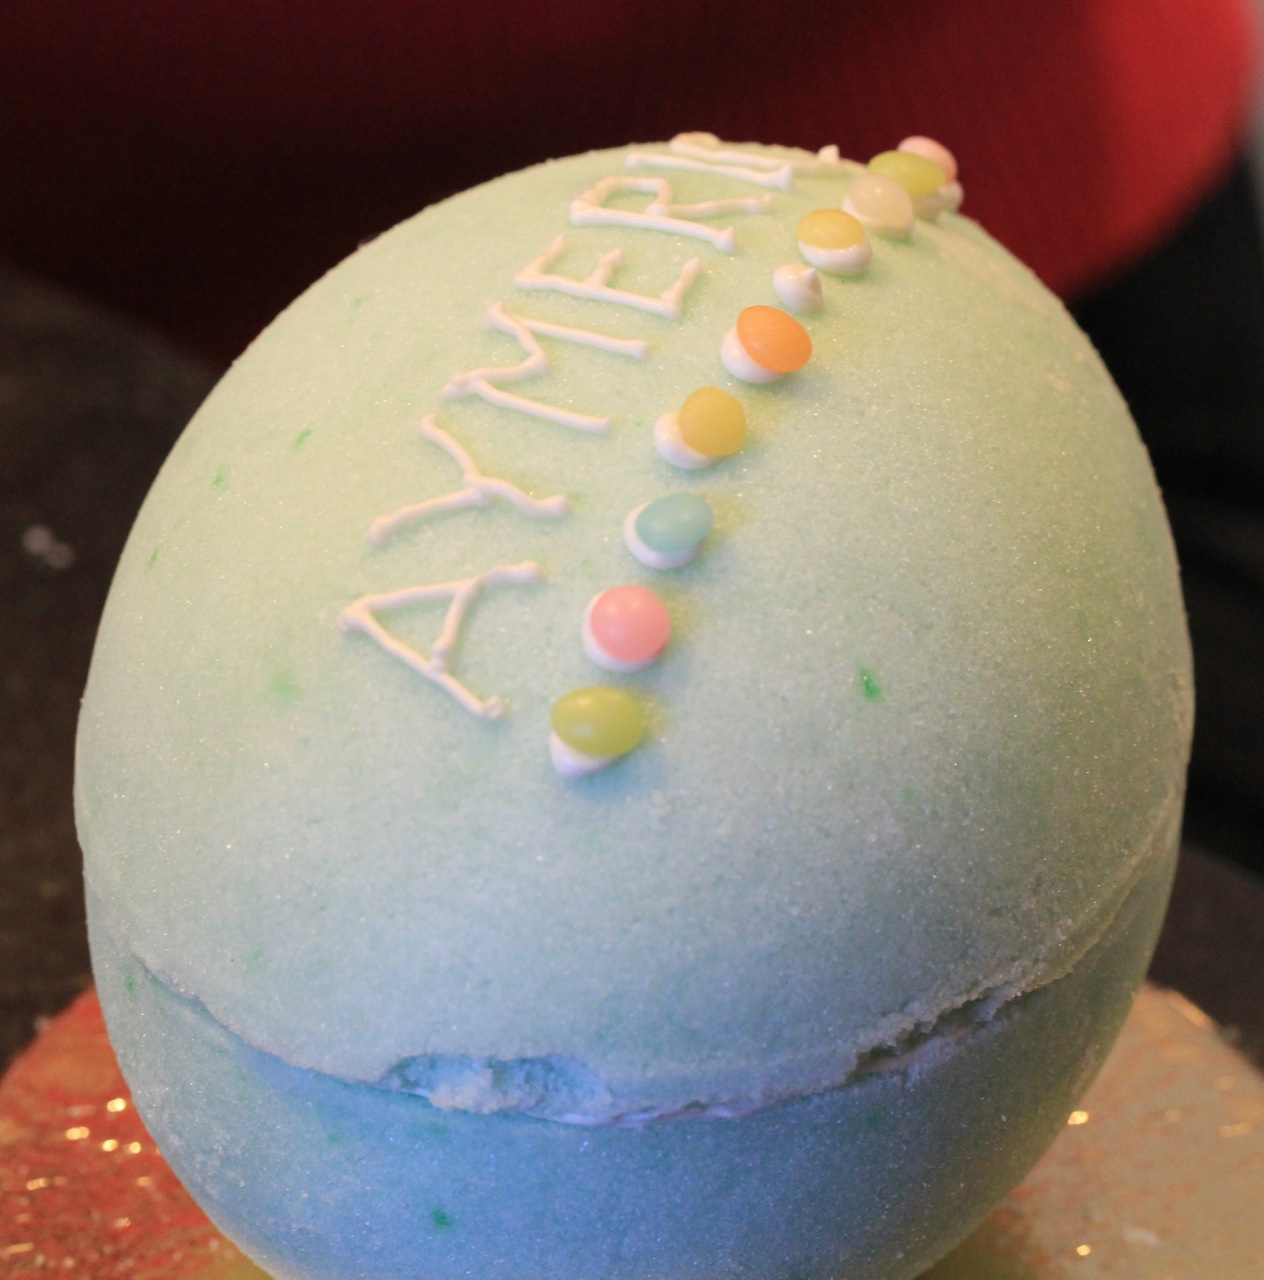
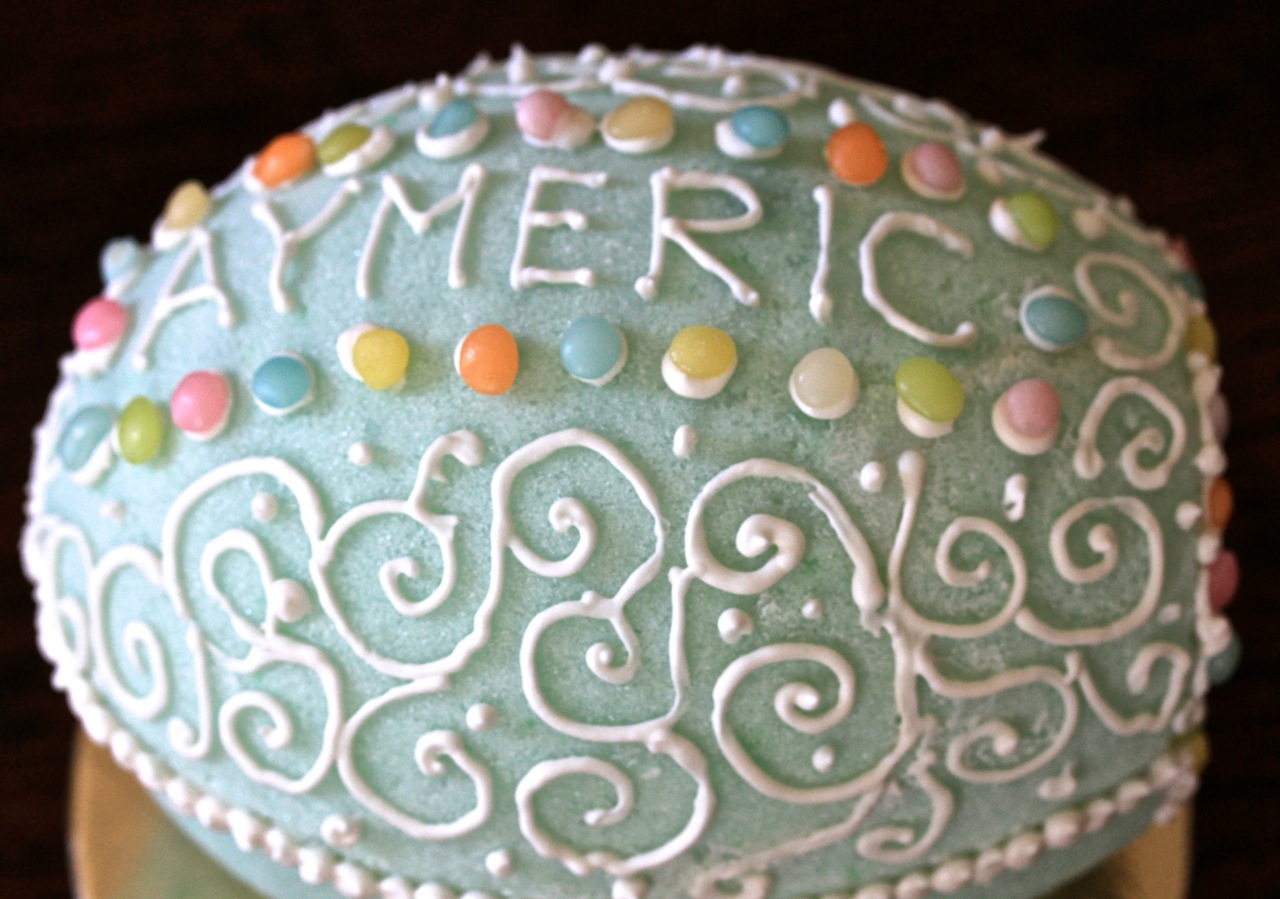
I bought a lot of little candies and chocolate bunnies from the local drugstore, to decorate the eggs. Roxanne made a batch of royal frosting, and showed us how to put the egg together. With a judicious squirt of green frosting piped into the bottom of the egg, the chocolate chick and rabbit were set into place. Then she piped icing along the edge of the two pieces of the egg and gently placed them together. From there, it was pure decorative art: this egg was personalized with the name of the recipient, and scrolls and dots of icing were used to decorate the exterior of the egg. Roxanne piped a strand of frosting to hide the seam where the two eggs met, and around the hole that opens to the little scene inside. Nelly added some multi-colored egg-shaped candies and voila! A gorgeous sugar egg with a chick and a bunny waiting inside.
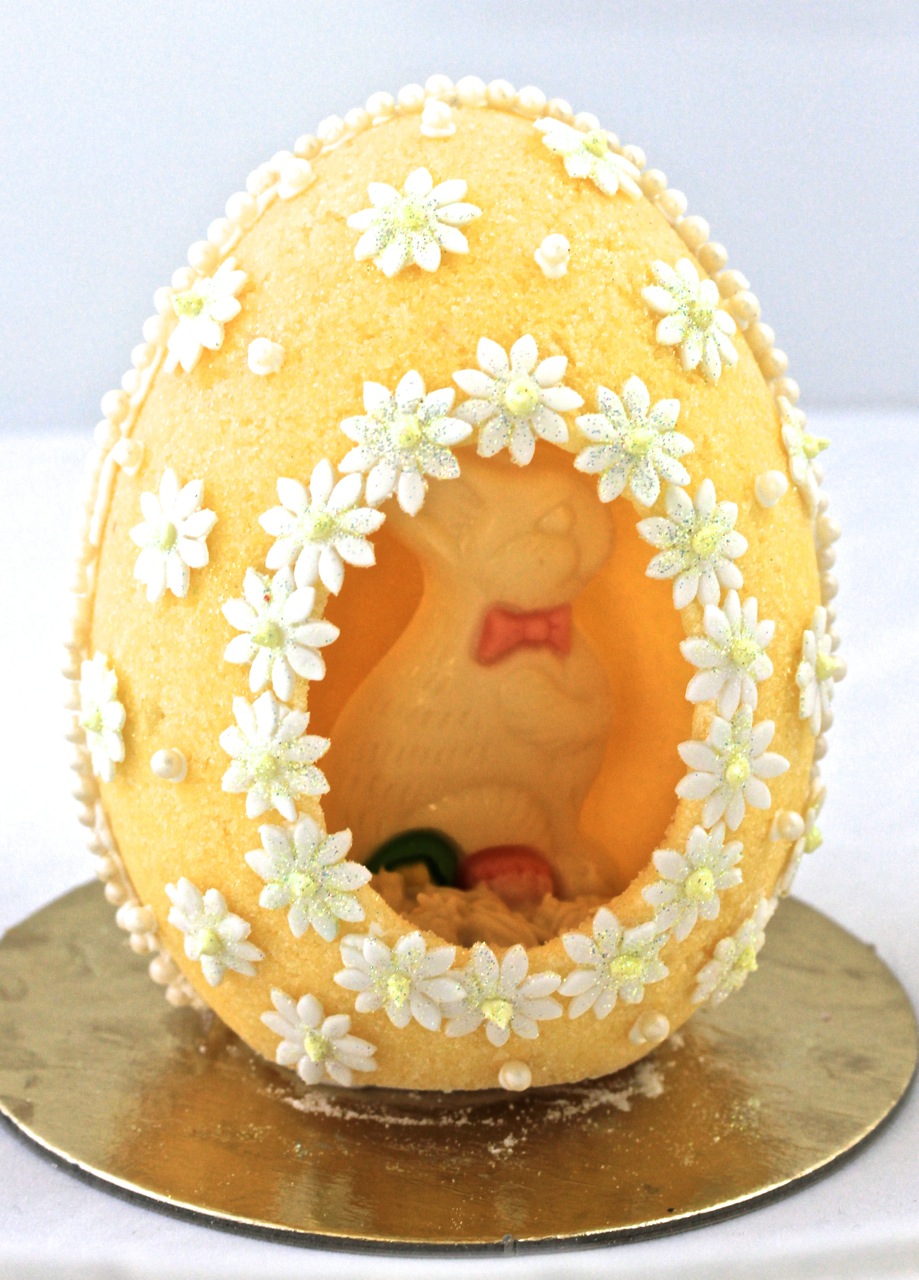
Roxanne’s yellow egg was designed to please an adult sensibility. She used the pastry attachment from a Kitchen Aid mixer to roll a piece of fondant icing out to perfect thinness, and we cut out little daisies from it. With a dot of pale yellow icing for the centers and a sprinkle of golden glitter, they were adorable. We gently glued the daisies to the egg using frosting, making a chain of them around the window to the view inside the egg, and dotting the exterior of the egg with daisies and pearls. (I don’t have photos of the daisy-making because I was cutting them out and became so immersed that I forgot to take pictures. It was easy and absorbing – like cutting out play dough with a cookie cutter.) I promised I wouldn’t use the ‘F’ word, but Roxanne’s egg did look as though it would have been at home among the Czar’s collection of Faberge eggs.
The truth is that Roxanne Roberts has so much experience with baking and sweet-making that she knows all the tricks and secrets to make a project like this doable. I’m including those tricks below, so that you too can have the help of an expert. My kids would have loved this project when they were younger; it’s a step up from coloring eggs, but the results last much longer. I can’t wait to make these eggs again, and find some unusual paper figures to place inside the eggs in several different places inside, to give the scene perspective. It’s a wonderfully creative project – inside and out – and I hope you’ll give it a try
Sugar Easter Eggs
Makes one six-inch sugar egg
Prep time: 2-3 hours, depending on how elaborate you want to make it
For the egg:
Ingredients
- 4 ½ cups sugar, superfine or processed in a food processor until sugar is fine
- 2 teaspoons meringue powder, available at Michael’s or other hobby stores
- 3 tablespoons water
- Food coloring of your choice
- 6-inch egg mold, available on Amazon here.
Directions
- The egg is created from a two-piece plastic mold – two sides that are put together to create a whole egg. For the purposes of description, when I refer to the egg, I mean the half of the sugar egg that is being worked on at that point in the process.
- In a mixer, combine the sugar, meringue powder, water, and food coloring. Mix until the water and food coloring are thoroughly distributed throughout. It will feel like wet sand.
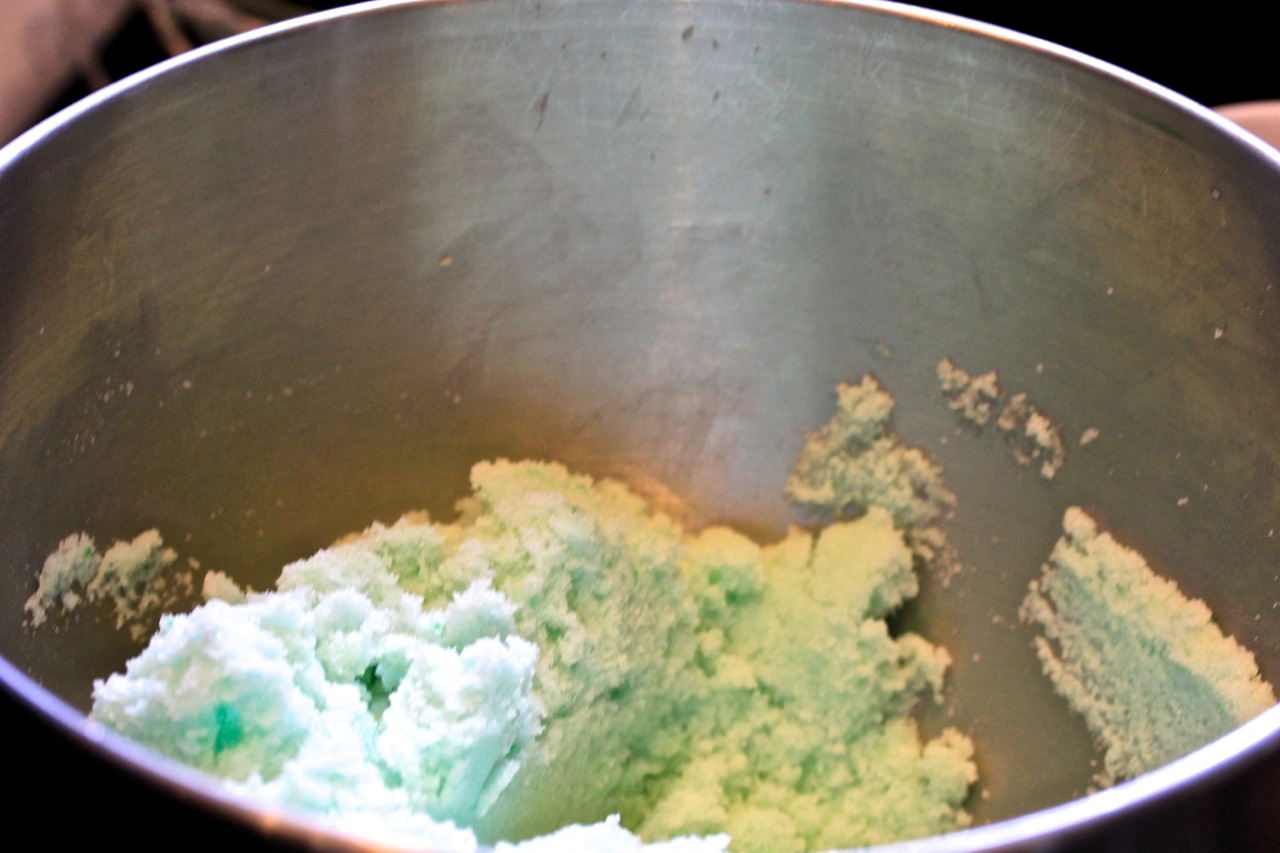
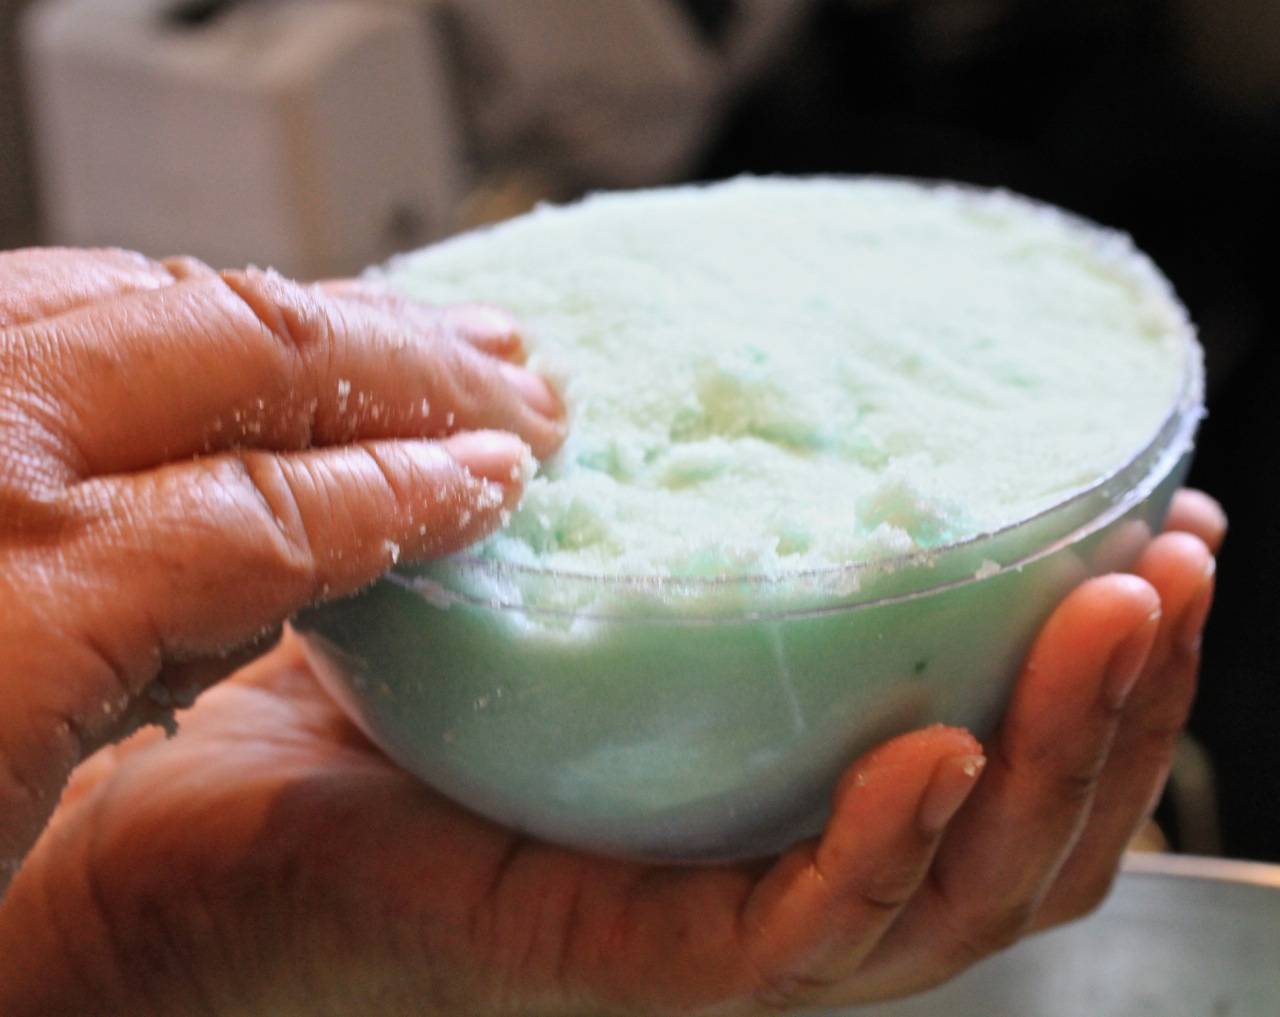
- Pack the mixture into the two molds, filling them completely and pressing down hard so the sugar is tightly packed against the sides of the molds.
- Use a pastry scraper or knife to brush any extra sugar off the top – the sugar on the top of the egg mold should be flat and even with the top sides of the mold.
- Press the sand tightly into the mold so there are no visible air pockets on the outer side of the mold (which you’ll be able to see them if you look at the underside of the mold.) Whatever is not filled in will appear as an imperfection or hole when the sugar is removed from the mold, but don’t worry about that too much because you can cover imperfections with frosting! See? No pressure – this is supposed to be fun!
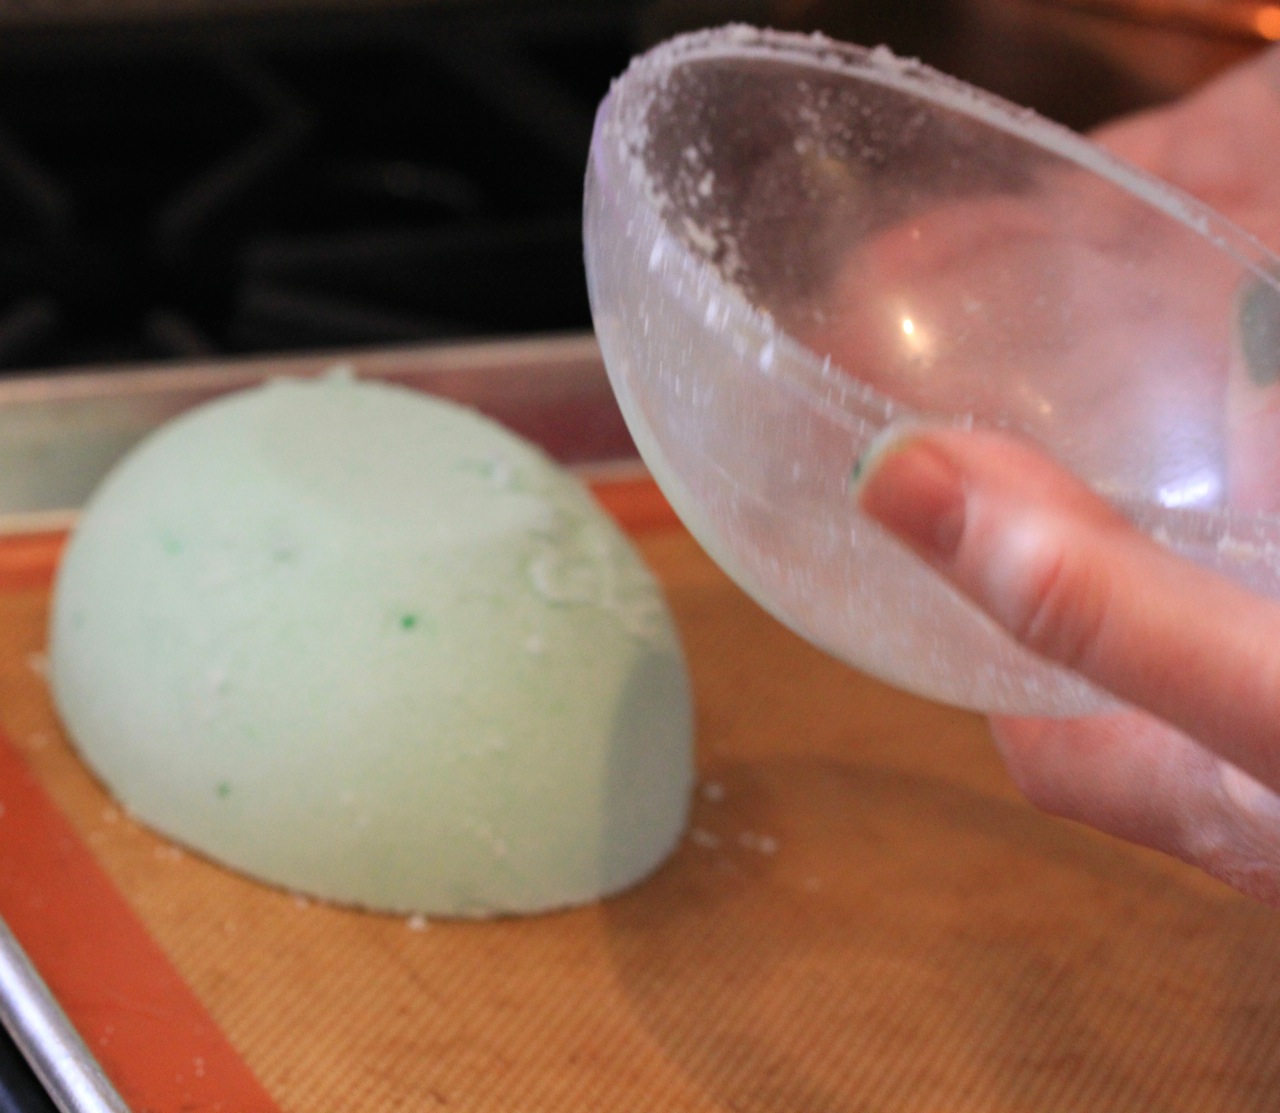
- Place molds, sugar side down, on a baking sheet covered with a silpat or parchment paper.
- You can either cover with a piece of cardboard and flip the mold onto the baking sheet (the cardboard won’t burn at such a low temperature), or slap it down quickly on the baking sheet, so no sugar can fall out.
- Remove plastic mold. (Note: most molds have a top and a bottom – they are not exactly alike.)
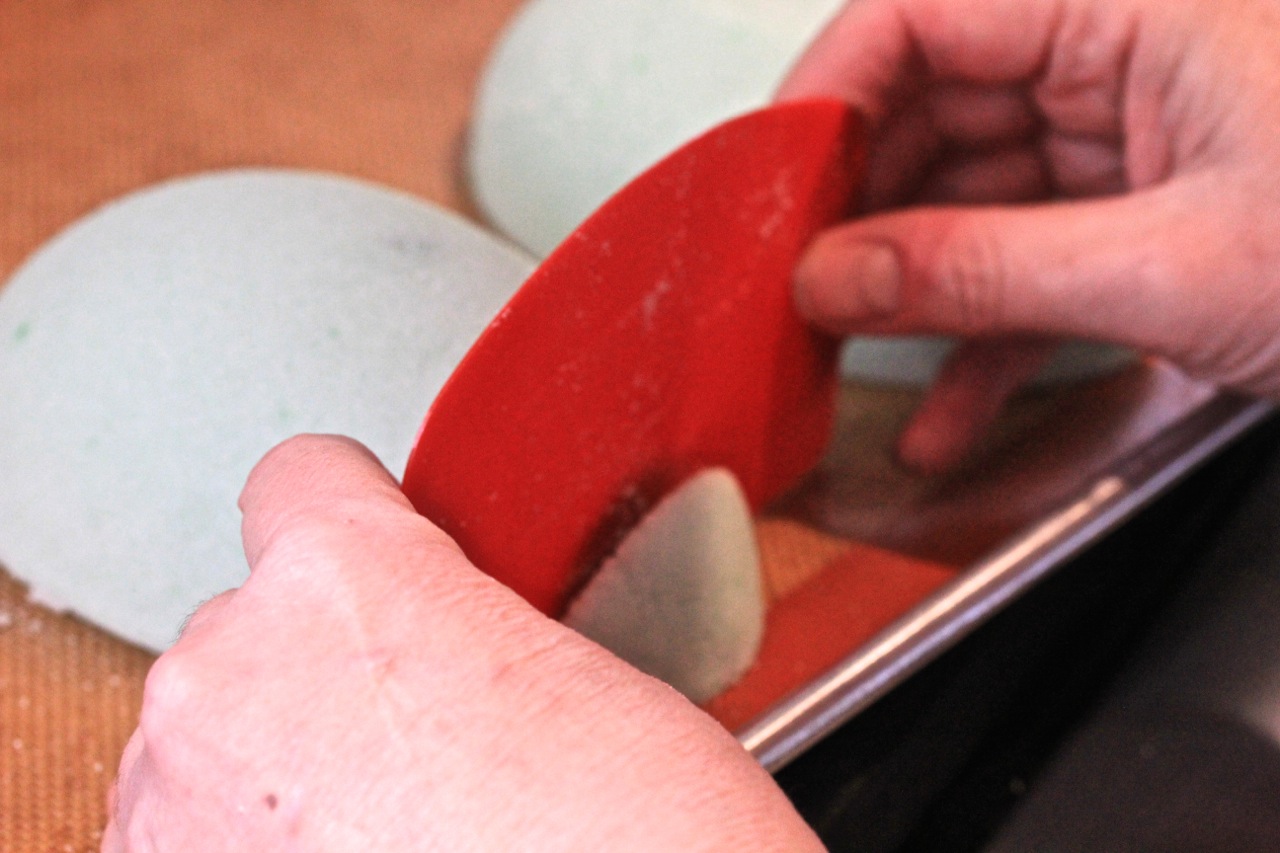
- Use a small sharp knife or pastry cutter to cut off a bit of the bottom of the egg, to create a flat surface. This end will eventually be the hole from which you view the scene inside if you are making a horizontal egg. If you are making a vertical egg, this will allow the egg to stand upright without falling over.
How you proceed from here depends on whether your egg is horizontal or vertical.
Directions
- If it’s a horizontal egg, the flat piece you will see on the long side of the egg will serve as the base on which your egg rests and the small bottom cut will become the view.
- The flat side on the bottom of the egg that you just created by cutting off the end will be the view into your egg.
- Using a small knife, etch a line ½ inch from the outer edge of the viewing hole: this will make it easier to remove the sugar neatly from this area when the eggs are finished baking.
- Score the area inside the line you’ve just made, to make the sugar easier to break out.
If you’re making a vertical egg
Directions
- Use a small knife to outline the edge of the long flat piece of the egg – this is where the viewing hole will be.
- Score the inside of the area you’ve just outlined, to make the sugar easier to break out when it is finished.
- Bake at 200 degrees in a preheated oven for 20 minutes. (If you’re making a smaller egg, bake for ten minutes.)
- The exterior sugar of the eggs will be hardened, but the interior will still be soft.
- Wait 2-3 minutes, then remove eggs from baking sheet by putting the mold back over the egg and using it to lift it from the baking sheet, and (here’s a trick from Roxanne) carefully place them back in their molds.
- This will give you a stronger base from which to scoop out the excess sugar inside the eggs.
- Hold the egg inside the mold with the flat side facing you.
- With a small, sharp knife, draw a line about one half inch from the edge of the egg; you are going to scoop the sugar out of the inner area, leaving about ½ inch of shell.
- Gently break through the hard sugar crust, starting in the center and moving to the line, then begin to scoop out the soft sugar inside. (Another trick: use a 2 inch ice cream scoop to remove the sugar, which will be wet inside and easy to take out.)
- For the vertical egg, break through the opening of the viewing hole with a sharp knife and hollow it out gently. Don’t be overly concerned about the edge being perfect; the frosting will cover most mistakes.
- For the horizontal egg, break through the flattened area on the end of the egg and scoop out hardened sugar in as neat a line as possible (this is the viewing hole).
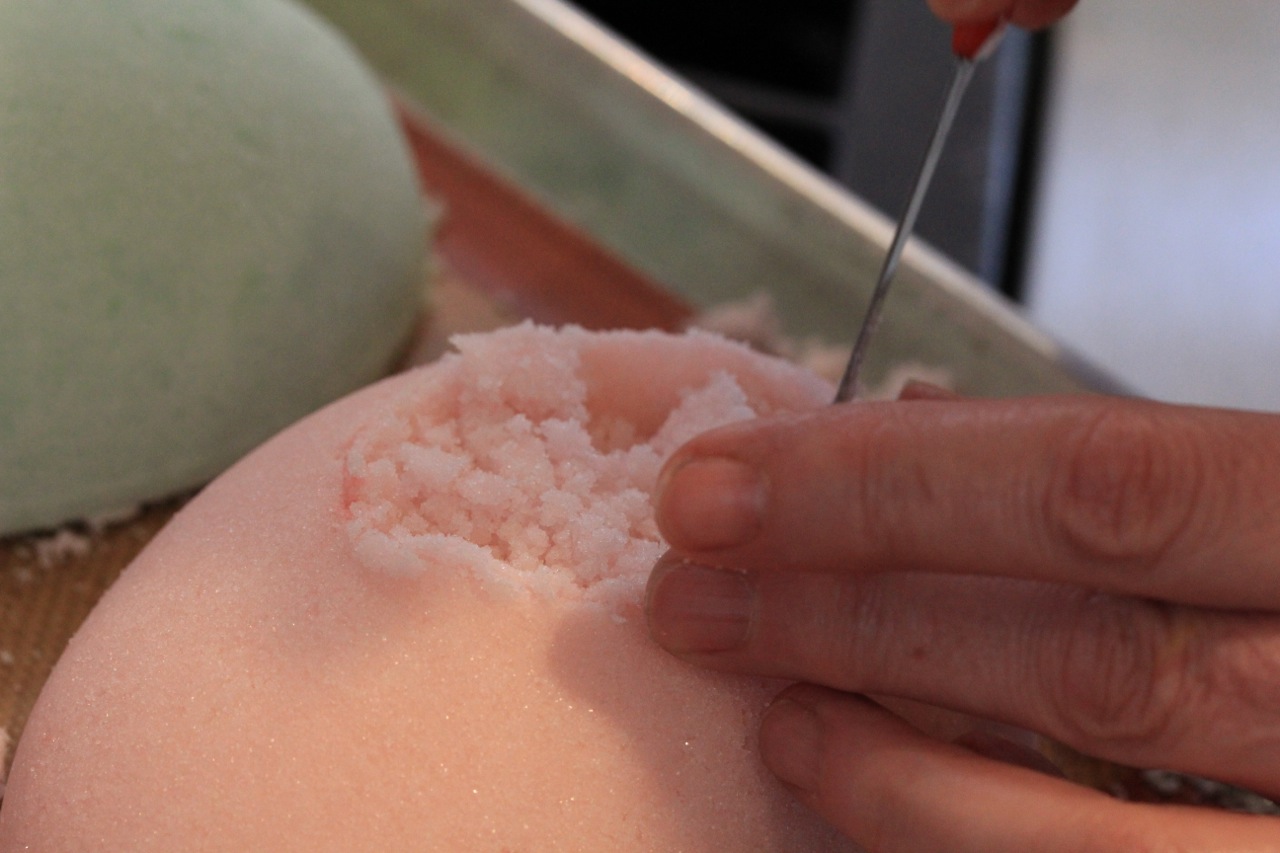
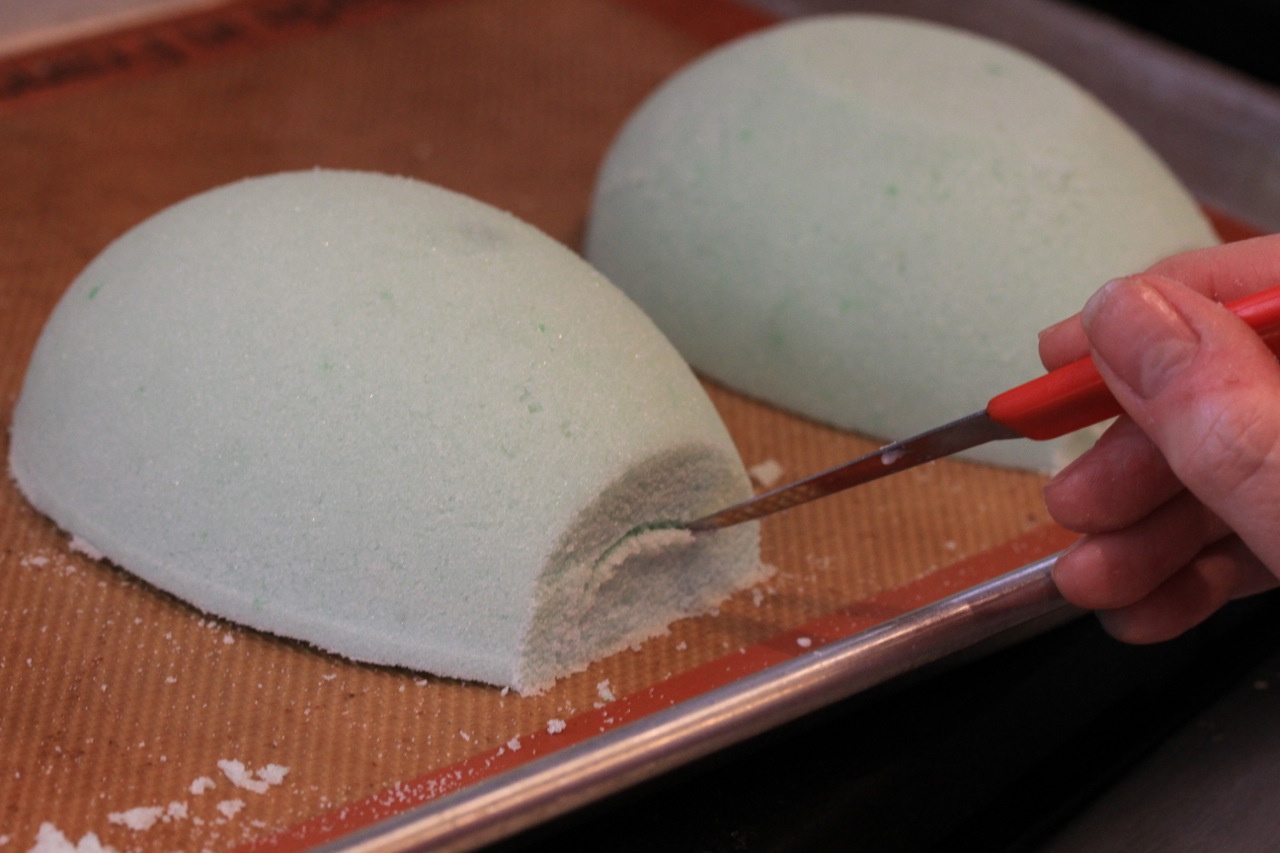
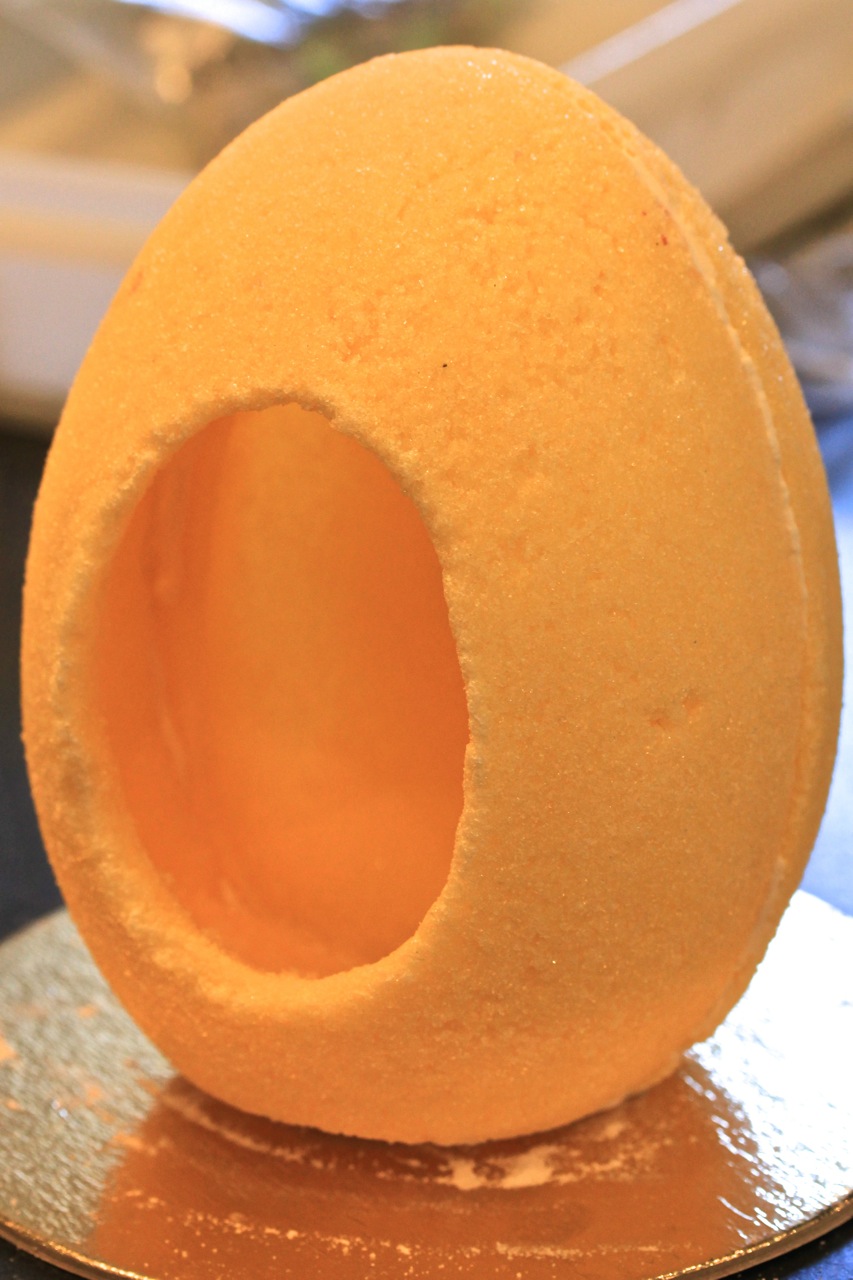
- If possible, allow eggs to sit overnight to fully dry out.
- The scooped out sugar can be reprocessed in the food processor, moistened with water, and reused if you’re making other eggs.
For the icing:
Ingredients
- ¼ cup meringue powder
- 1 pound powdered sugar
- ½ cup warm water
Directions
- Mix ingredients together in a mixing bowl and allow them to beat 5-7 minutes, until icing is fluffy and full. If you are using organic powdered sugar, the mixture will look a bit grey, but the icing color will lighten as it mixes. Add food coloring to frosting if desired.
- Put frosting into a pastry bag, fitting it with the tip of your choice.
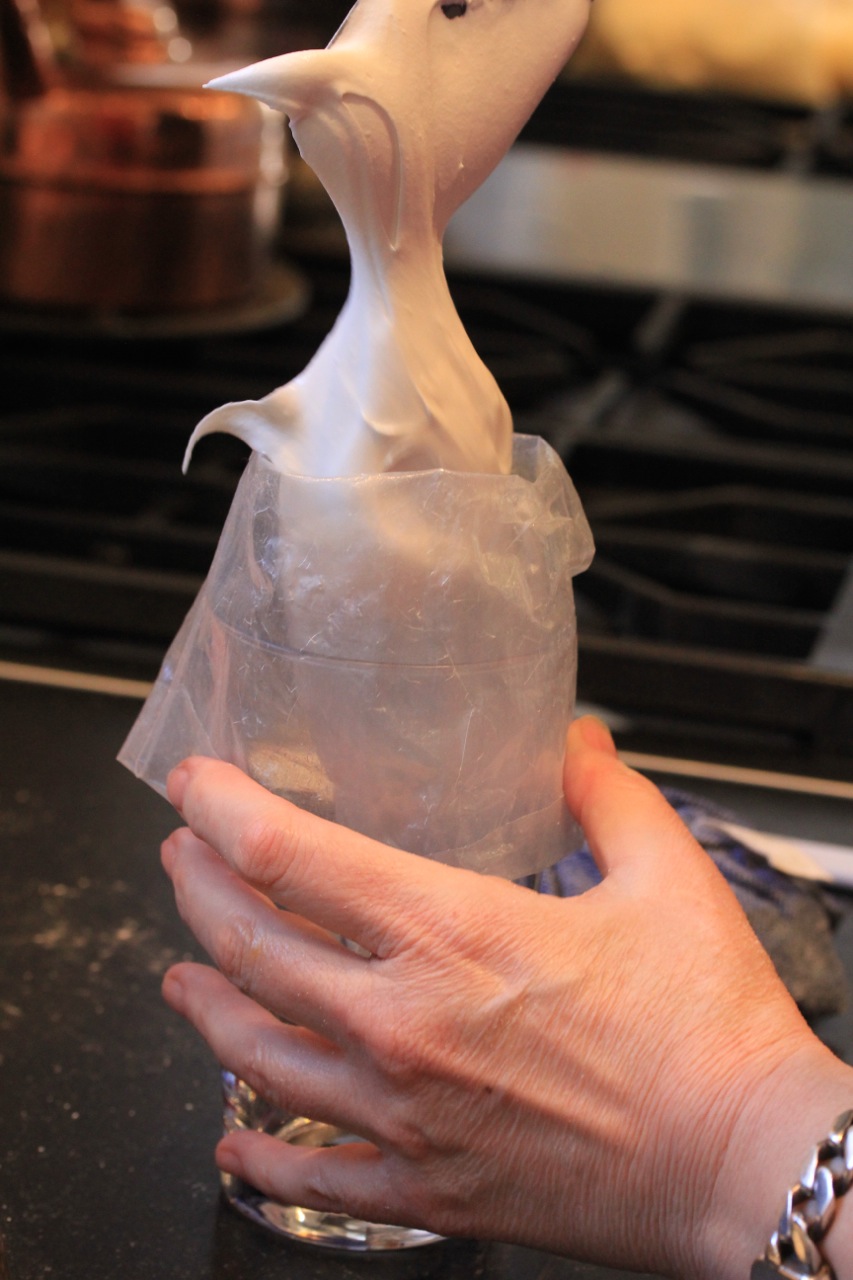
- If you’re making a horizontal egg, now is the time to create your scene inside the egg.
- Pipe some frosting on the inside bottom of the egg and place chocolate animals, jelly beans or other candies inside.
- Roxanne used a pastry tip that created little tufts of grass, so it looked as though the chick was sitting on a lawn. You can also use tinted coconut.
- When the scene inside was finished, she piped icing along the flat edge of the eggs where they were meant to be joined, and gently placed them together, giving them a few minutes to dry.
- She piped icing on a cardboard base and attached the egg to it.
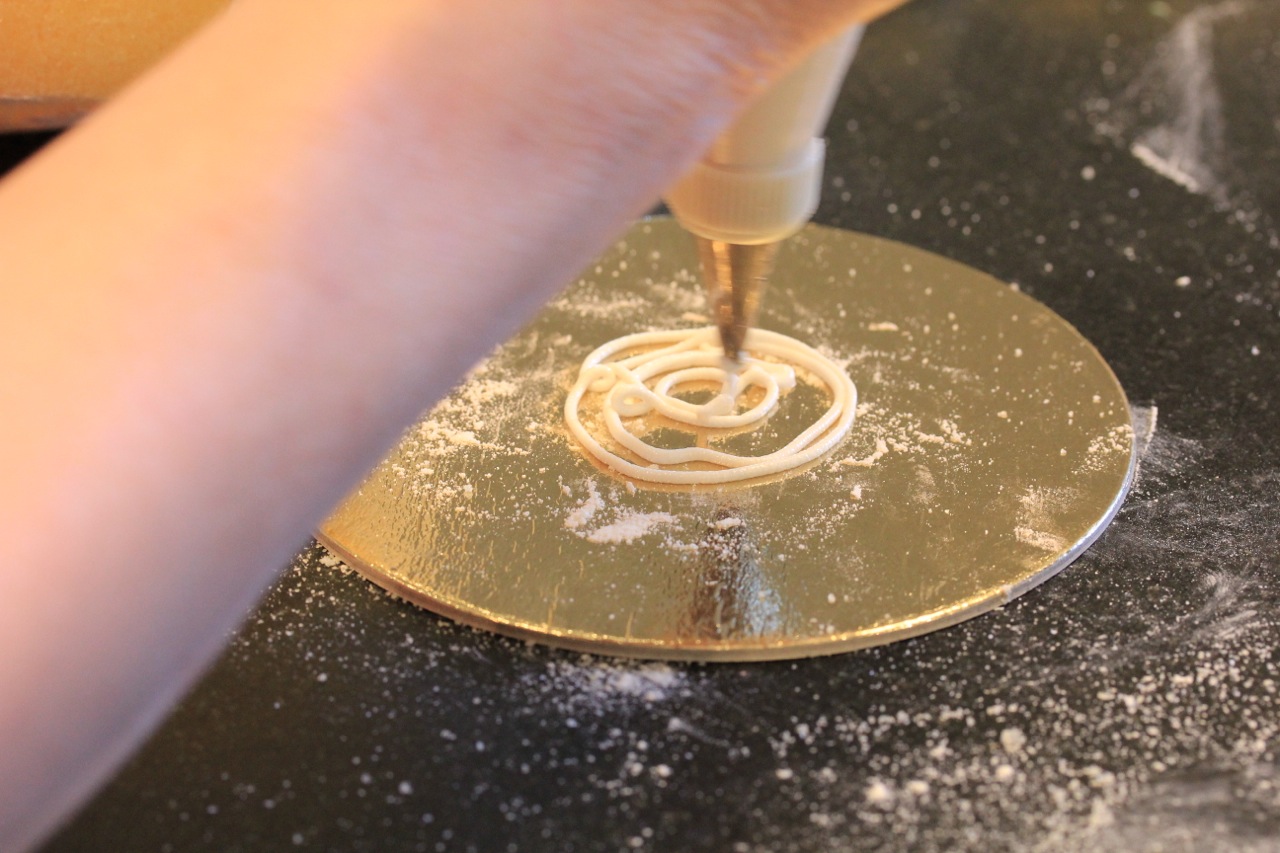
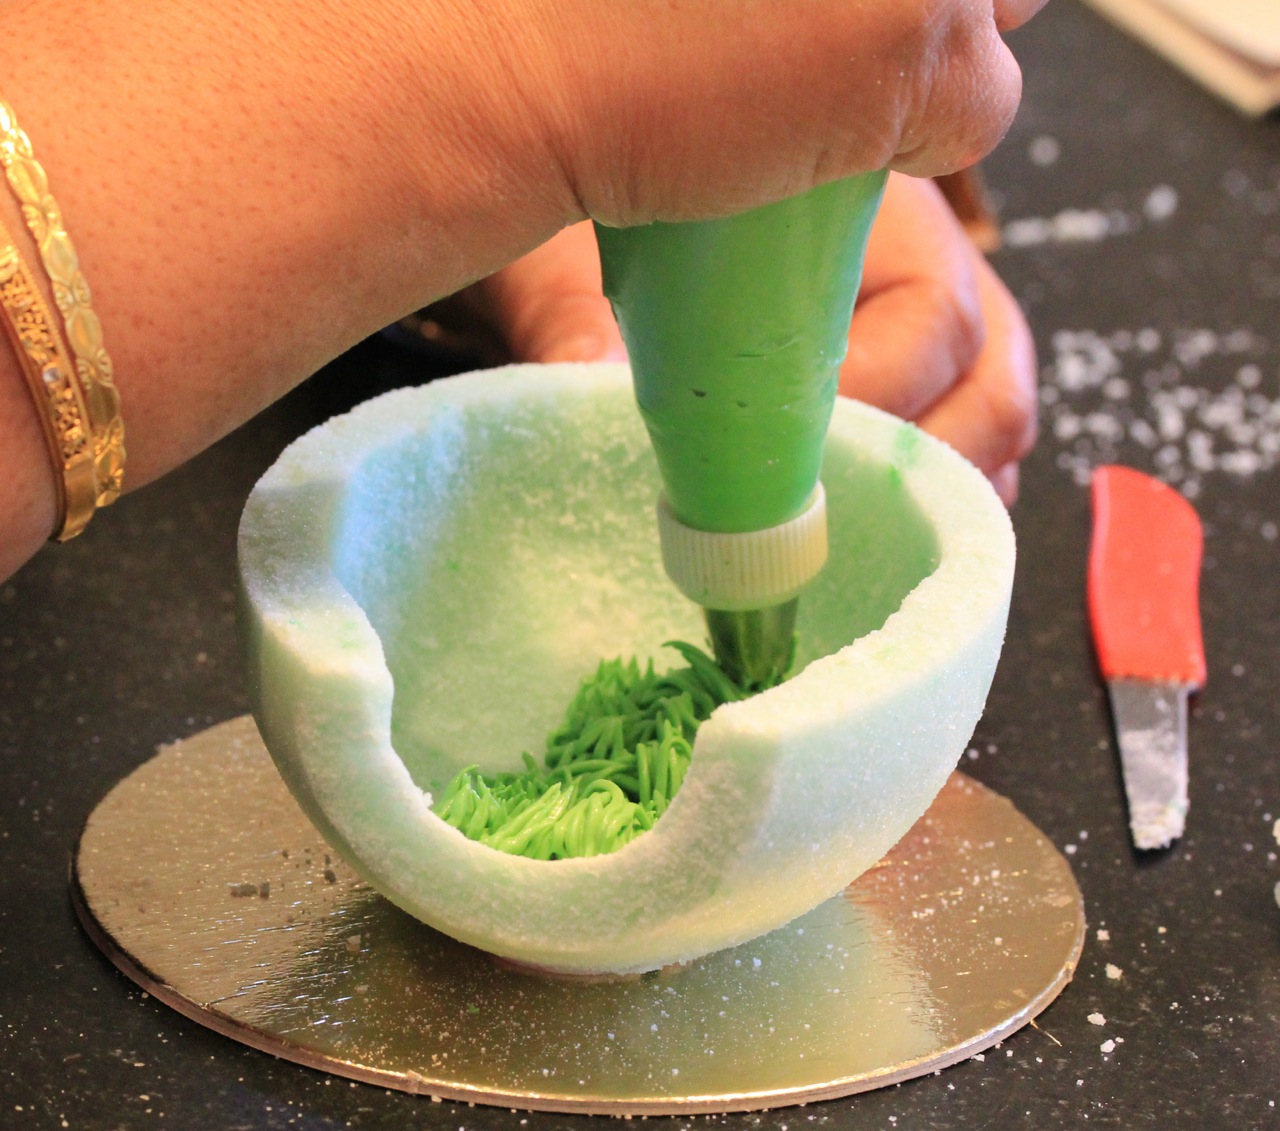
- For the vertical egg, pipe the edge of one of the eggs and place the two pieces together.
- Roxanne then piped icing on a cardboard base and affixed the egg upright to the base.
- Hold together for a minute or two; then set aside for a short time to let the icing set.
- Then it was time to create the scene inside the egg, by working through the viewing hole.
- Frosting was piped into the bottom and a white chocolate bunny placed inside.
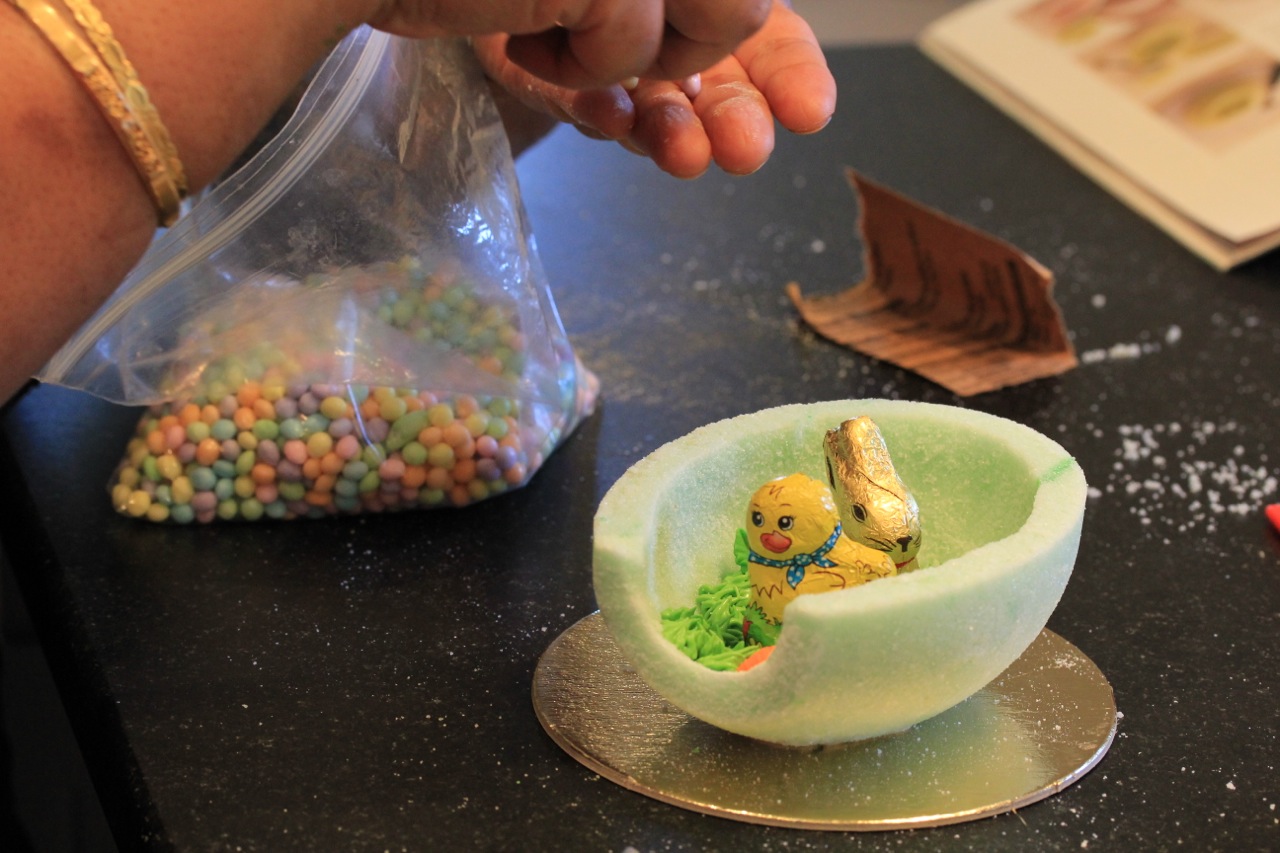
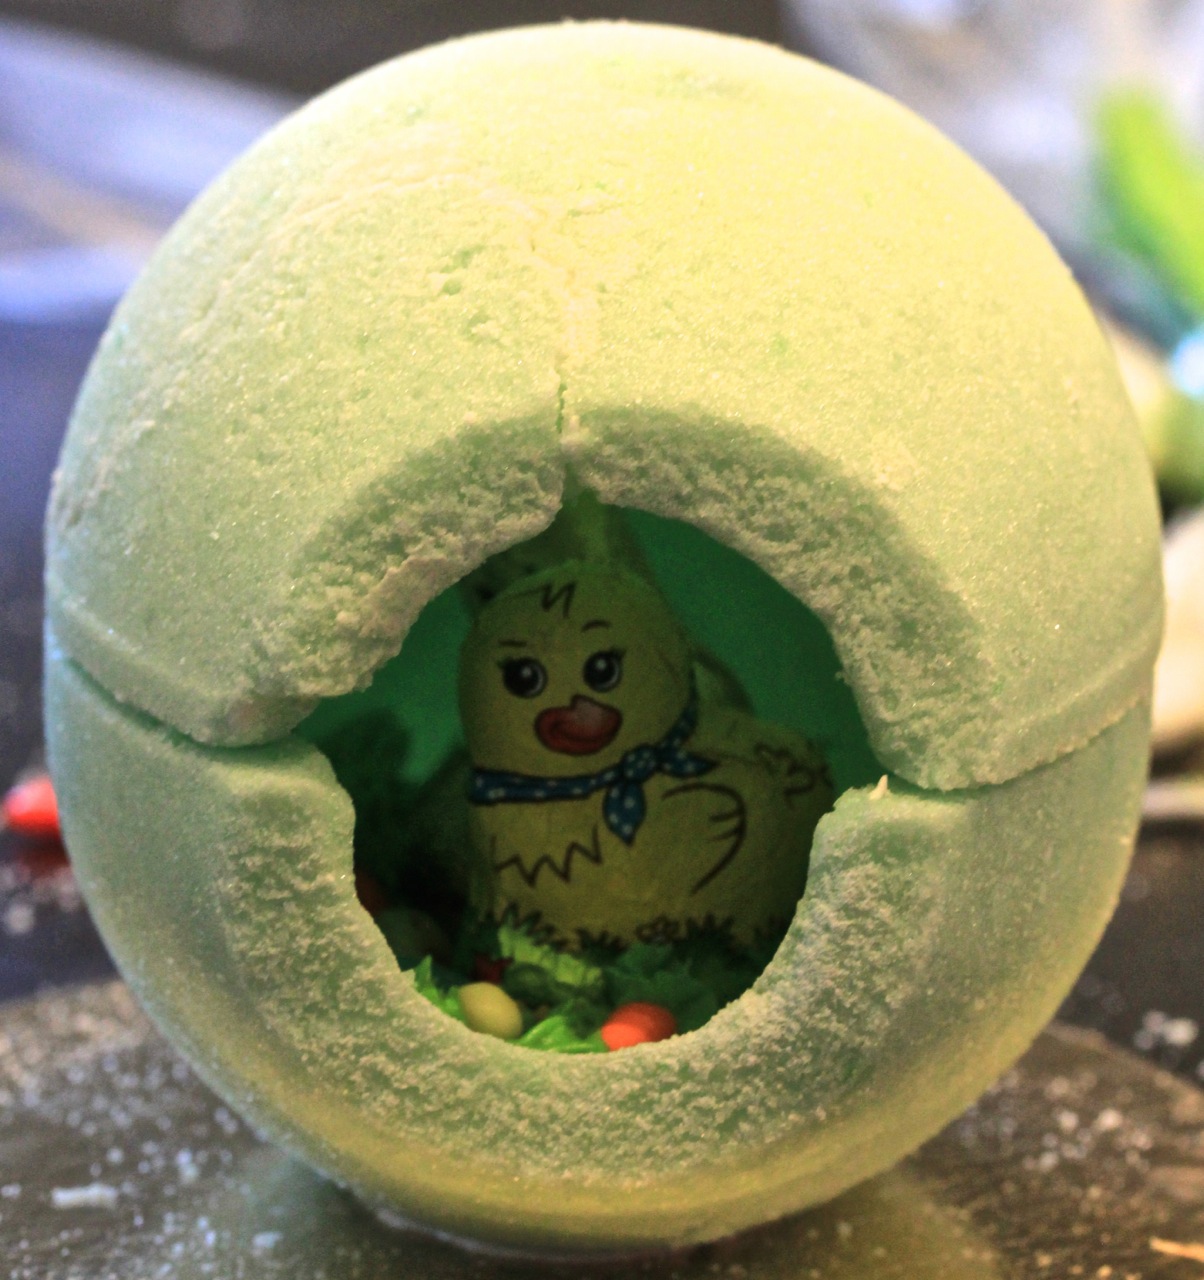
- The rest was exterior decoration: using a pastry bag, Roxanne piped “Aymeric” across the top, the name of Nelly’s grandson, and worked in scrolls and dots all across the top, covering the seam where the two eggs meet. She decorated around the viewing hole and Nelly added colorful candies.
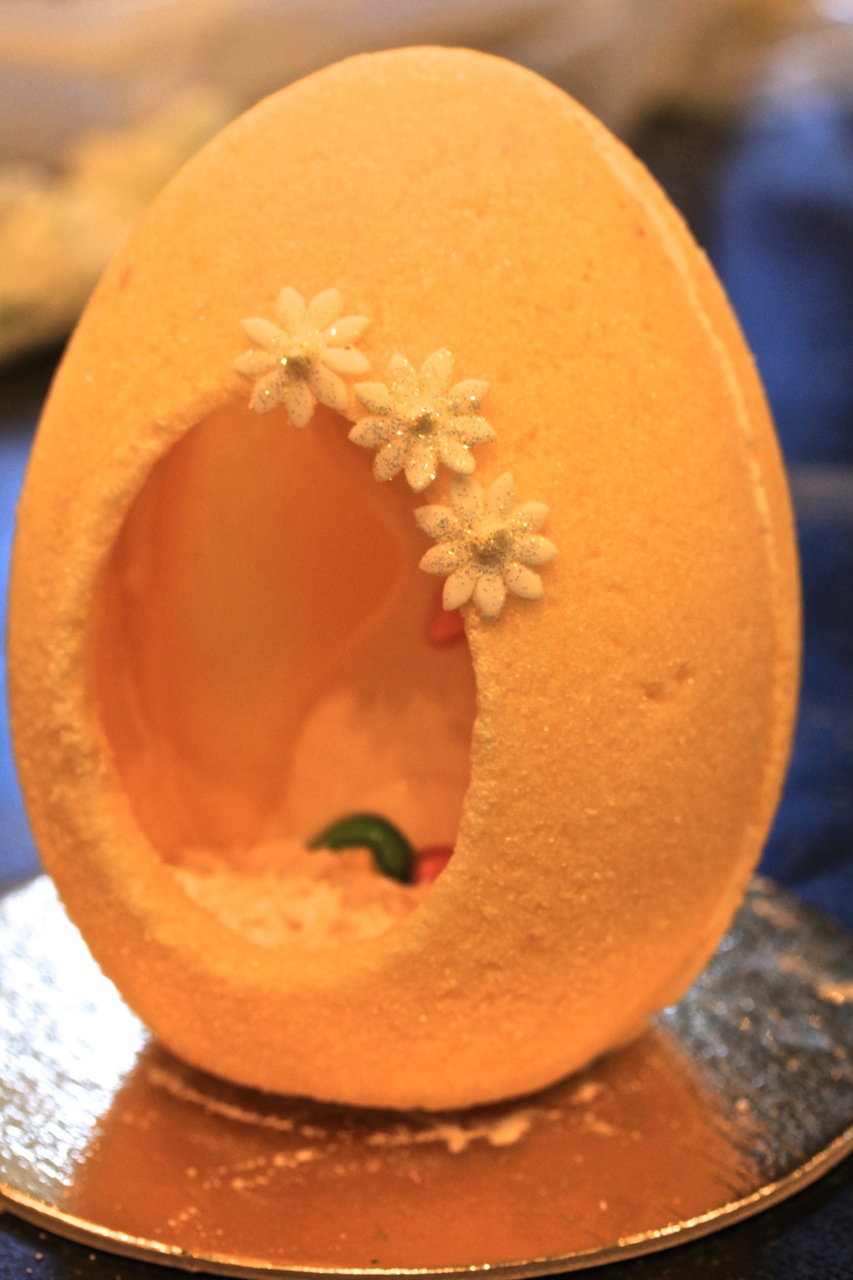
To make the daisies shown on Roxanne’s egg, she used fondant (which can be purchased at Michael’s or other hobby stores), rolling it very thin. Roxanne used her pasta attachment on the mixer to do this and it worked beautifully. With a daisy cookie cutter, she cut out little daisies, dotted their centers with a bit of pale yellow frosting, and sprinkled them with a tiny bit of edible golden glitter (available at cake supply stores) to make them shine. Then, using the frosting as a sort of glue, we affixed the daisies to the egg, in a chain around the viewing hole, and then indiscriminately around the rest of the egg. The seam was covered with edible pearls, which we also dotted around the egg.
And there it is – an Easter treasure, thanks to Roxanne and her beautiful artistry!
